Learn how to add logo and cover image to the project sharing and file sending in creativehub.
A branded file delivery page will help you create a professional way of presenting and delivering your projects, we offer this for free.
Getting started
Adding your logo and some images to the project sharing or file sending is easy.
- Go to your account details by clicking on your name on the top right of your screen, then choose:
- ‘Account settings‘ > ‘Branded file sharing’
Uploading your logo and some images
- Now you can upload your cover image and your own logo by clicking on the blank squares that have a ‘+’ sign in them. You can add up to three cover images and we will show them in rotation.
- For the cover image, you will need to choose from your stored images in creativehub. Simply click on the ‘+’ symbol and choose from ‘All Files’ or from a specific project in the dropdown list.
- For the logo, you will need to upload it from your computer.
Additionally, you will be able to choose the cropping for both options ‘Desktop’ and ‘Mobile’ so you have full control of what recipients will see when they get your files. The optimal dimensions for the cover image are 1920px × 1080px.
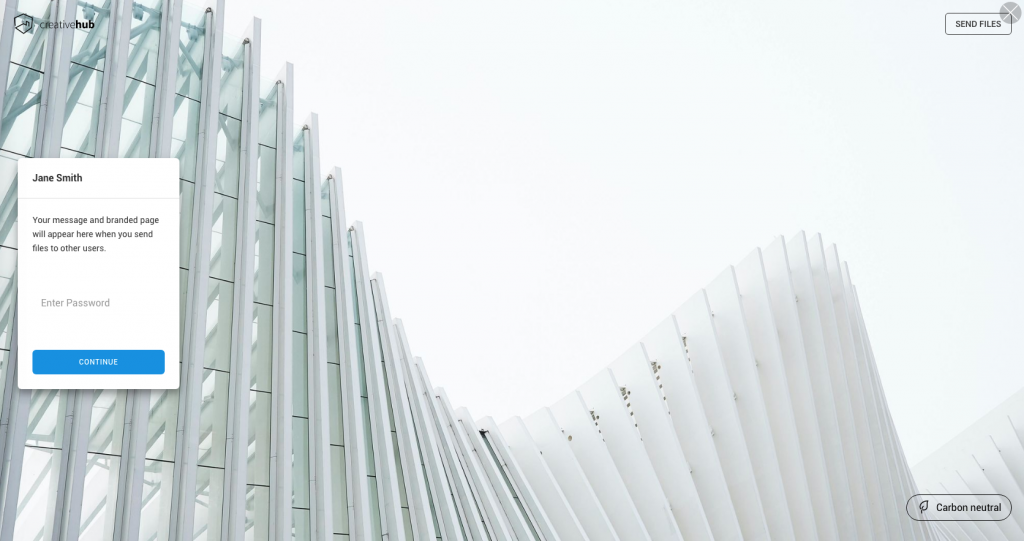
You can also preview the ‘Branded file sharing‘ page and the email recipients will receive, you just need to click on the ‘Preview Page‘ and ‘Preview Email‘ buttons below.
Example of a custom file sending page
What to do next?
Now you can send files or share projects with your own branding, to find out how to share a project, click here, to see how to send files, click here.