Learn how to add watermarks to your images before sending them.
creativehub gives you the option to send files with a watermark. A watermark is a translucent layer of text on top of your images to protect the original from being used or copied without your consent.
How to add a watermark
To add watermarks to the files you want to send with creativehub, simply follow these steps:
- select the files and click on ‘Send files’.
- In the overlay that opens up, select ‘Settings’ in the top right corner and click ‘Add watermark’.
It takes several minutes to apply watermarks to a large selection of files, and in that time they will not appear on the link you are sending. If you do not see the files you have watermarked, wait 2-3 minutes and refresh the page.

Review or edit your watermark
The showcased text for the watermark will be the name you have saved under your account details.
To change or review your watermark, follow these steps:
- click on your name in the top-right corner and select ‘Account settings’.
- This brings you to your ‘Account details’ where you can review or change your first name and last name.
You can also add watermarks when sharing a project. Find out more about that here.
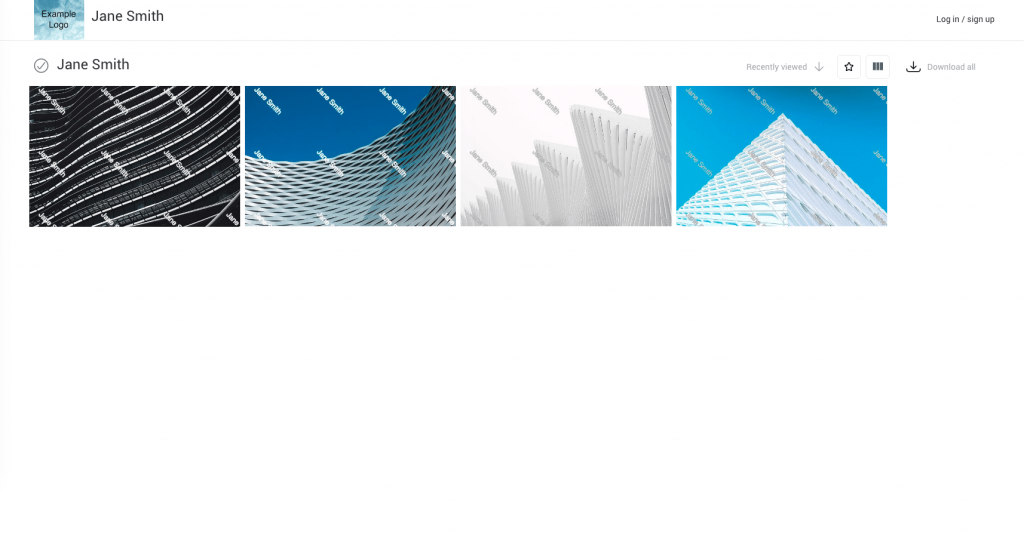
An examples of how files look with a watermark
Here is an example of how files can look like when adding watermarks: